


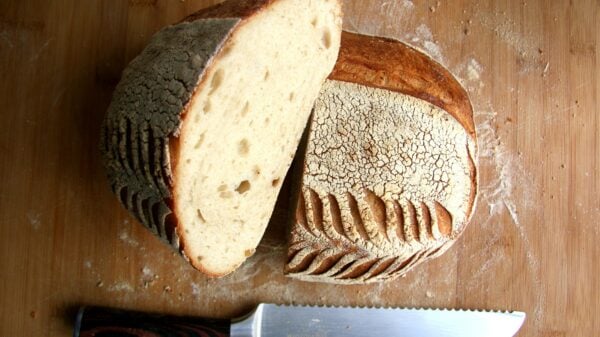
Have you ever dreamed of pulling a warm, crusty loaf of sourdough bread from your own oven? Sourdough has been cherished for centuries, loved for its tangy flavor and hearty texture.
This article will guide you step-by-step from creating your lively starter to slicing into your very own homemade sourdough bread. Get ready to transform flour and water into bakery-worthy goodness.
Creating a Sourdough Starter
Learn about the history and modern culture of sourdough starters, as well as how to prepare and maintain your own at home.
History and modern culture
Sourdough bread baking has deep roots. People have been making sourdough for a very long time. This special bread uses natural yeast and bacteria from the air to rise. Long ago, this was how all breads were made before packet yeast became popular.
Today, making sourdough at home is part of modern culture too. Many people love the taste of homemade bread. They enjoy creating their own starter cultures and sharing recipes with friends.
Baking your own loaf gives you joy and connects you with an old tradition that’s new again.
Preparation and maintenance
After learning about the history and modern culture of sourdough, it’s time to delve into the preparation and maintenance of your sourdough starter. Begin by combining equal parts flour and water to create a thick batter-like mixture.
Let it sit at room temperature, feeding it regularly with more flour and water to encourage yeast growth. Keep your starter in a warm place, around 75-85°F, to maintain its activity.
Regularly discarding a portion of the starter will keep it healthy and vigorous. With consistent care and attention, you’ll soon have a bubbly and active sourdough starter ready for baking.
Maintaining the health of your sourdough starter is crucial for successful bread-making. Regular feedings with flour and water are essential to keep the natural yeasts thriving within the culture.
Making Sourdough Bread
Mixing and shaping the dough is a crucial step in creating that perfect loaf, and we’ll go through the process step by step. We’ll also cover baking techniques and provide tips for achieving a successful sourdough bread.
Mixing and shaping the sourdough
To mix the dough, combine your sourdough starter with flour and water in a large mixing bowl. Use your hands or a wooden spoon to thoroughly mix the ingredients until they come together as a shaggy mass.
Cover the bowl with plastic wrap and let it rest for about 30 minutes to an hour. After resting, sprinkle salt over the dough and use your hands to incorporate it evenly. Knead the dough on a floured surface by stretching, folding, and pressing it for about 10-15 minutes until it becomes smooth and elastic.
Shaping the dough is essential for its final look. To shape it into a loaf, gently pat out any air bubbles and fold the sides of the dough toward its center. Then flip over the dough onto itself while pulling it towards you to create tension on its surface using your fingertips.
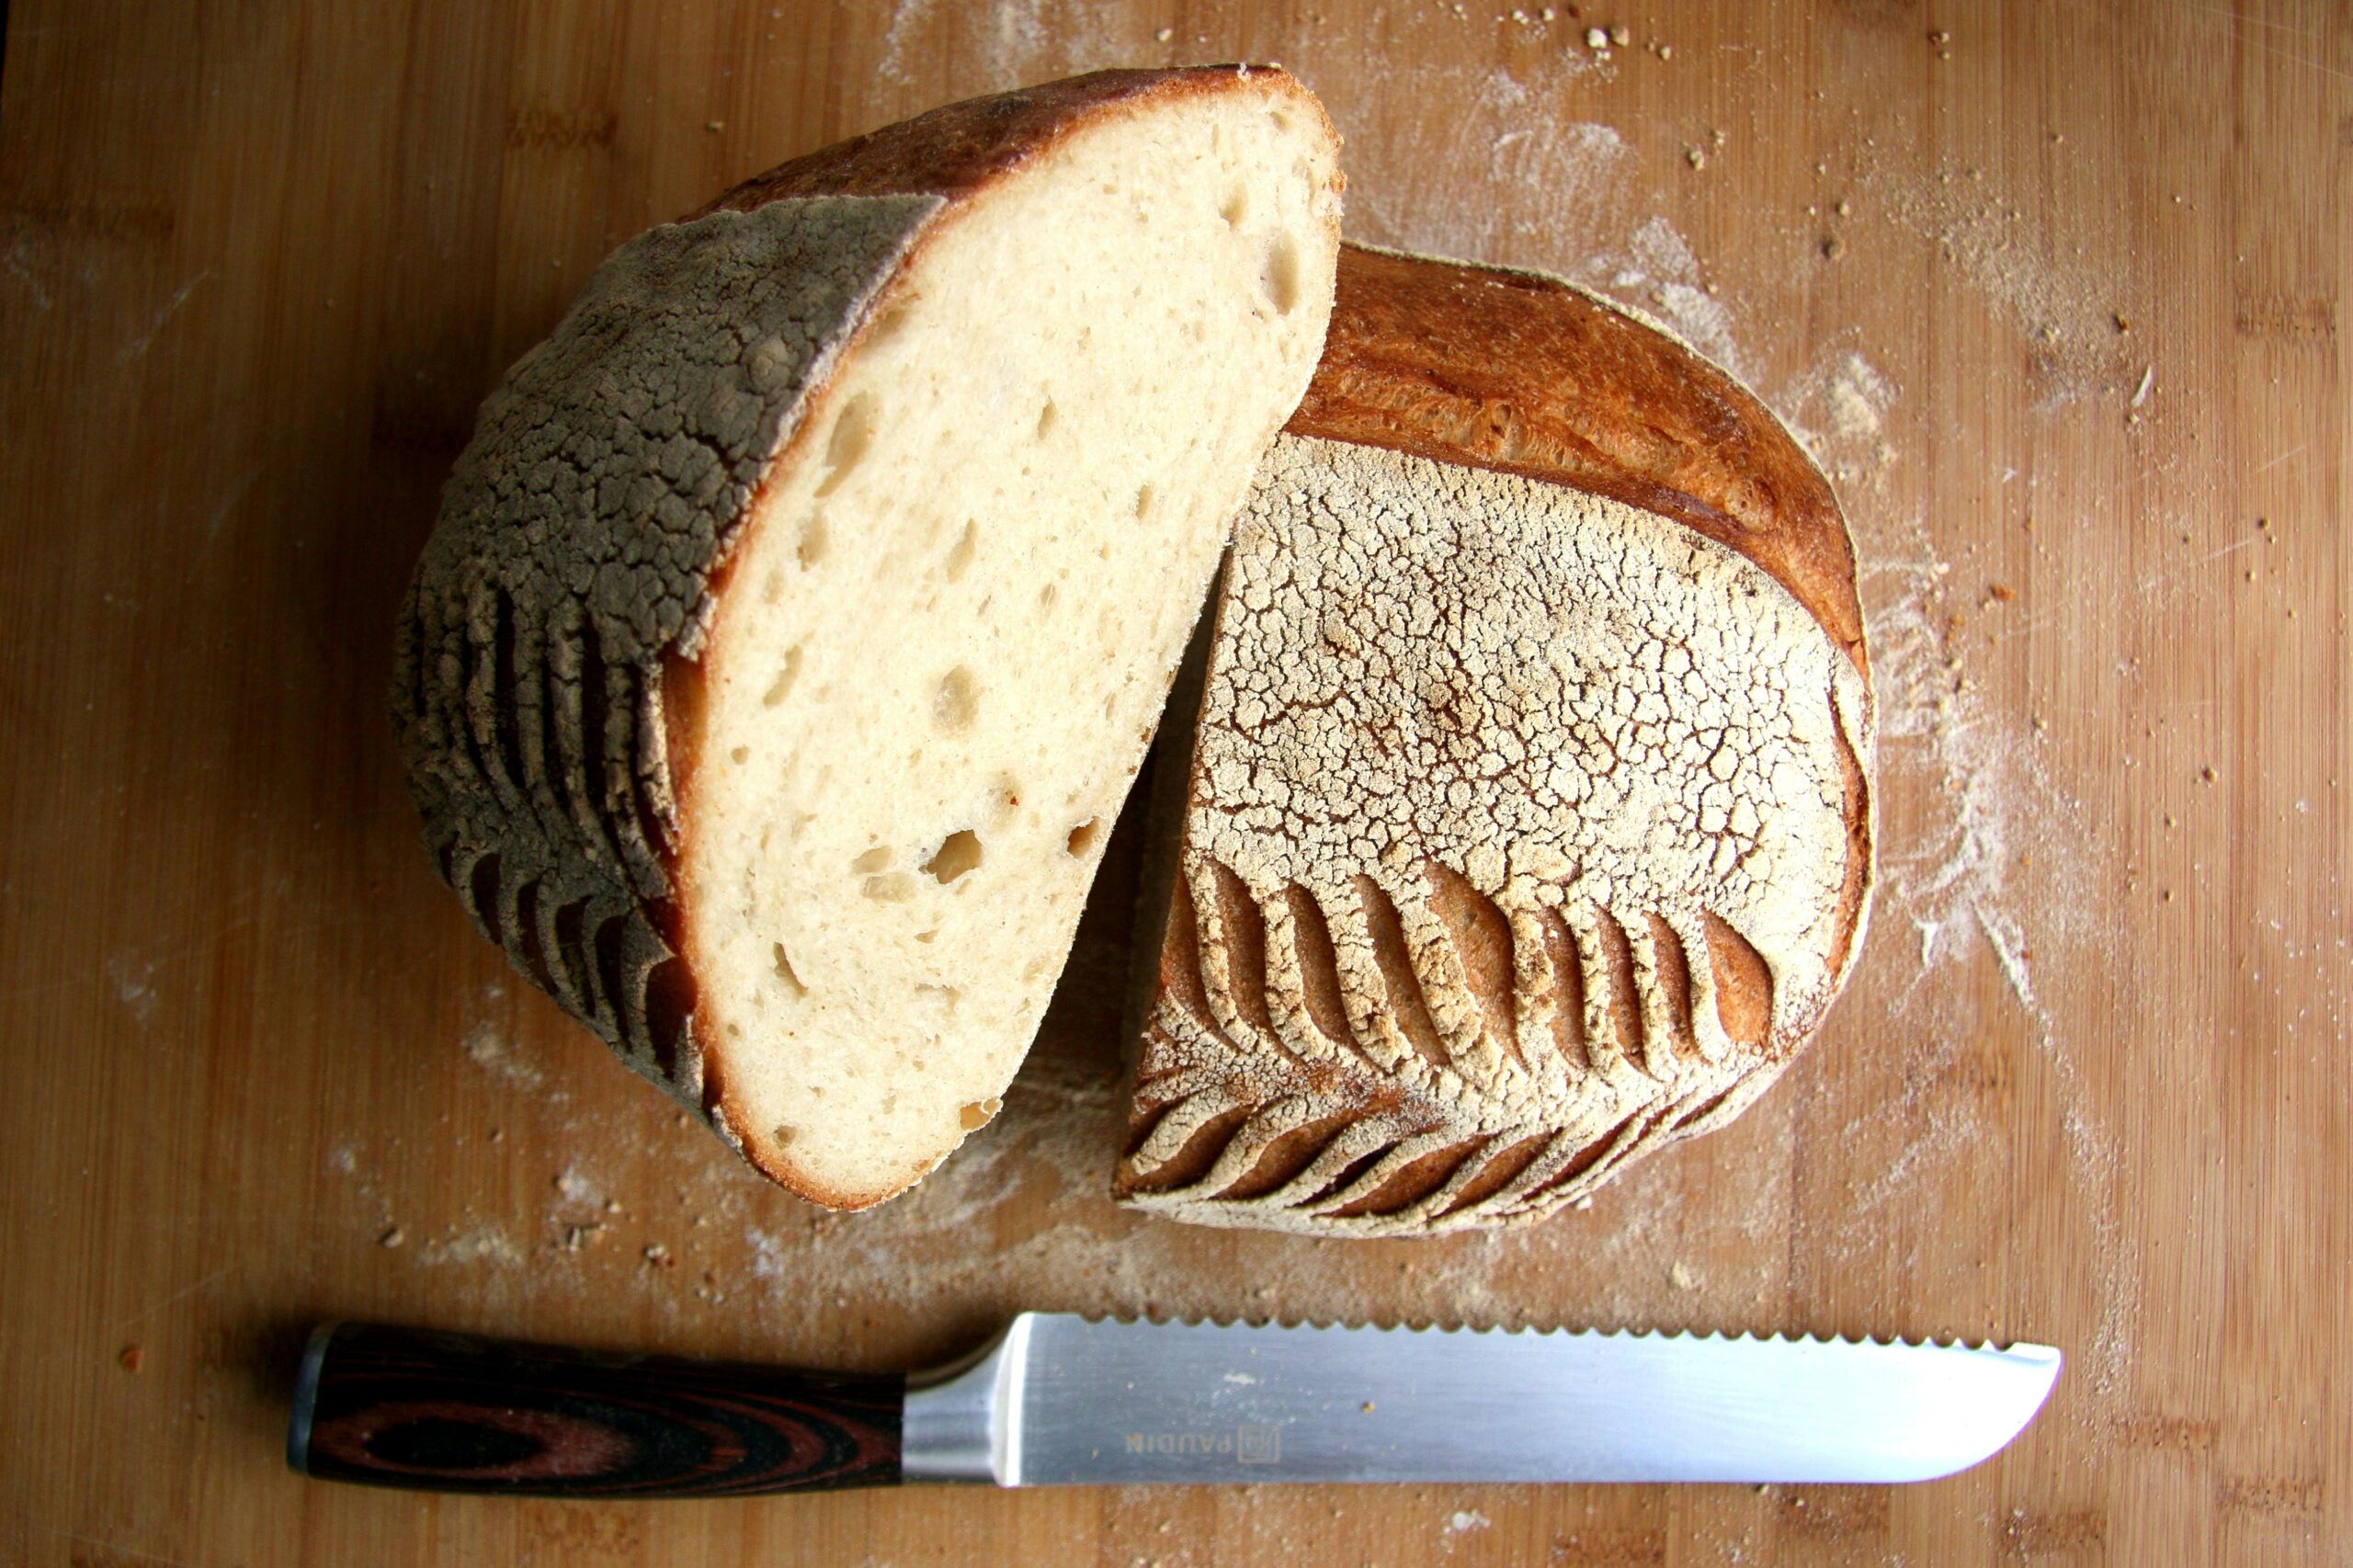
Baking and tips for a successful loaf
When baking sourdough bread, proper shaping is key. After the dough has gone through its final rise, gently shape it into a taut round or oval before placing it in the oven. This helps the loaf maintain its structure and prevent spreading during baking.
Using a Dutch oven can help create steam, which is crucial for achieving that beautiful crispy crust.
To ensure your loaf bakes to perfection, preheat your oven thoroughly and use a kitchen thermometer to monitor the temperature accurately. Start with a higher heat to kickstart oven spring, then reduce it for even baking.